I normally sew every day, but due to life, eye issues, and working on genealogy I haven’t hardly touched the machine.  With this happening I look at the computer and think, “What to blog about?”  I was brain dead  This morning after a little while of sewing it has opened the mind and I have all kinds of things to make or do.  Crazy how the mind works isn’t it?

I will be working on making aprons these are so much fun to make and useful.  Every time I get one made I think about what to add to the next one.  These are taking only a yard per apron.

I am thinking of making pot holders to match the aprons.  Well Granddaughter is knocking so till tomorrow.

Have you ever been asked to finish something?

I was given some fabric and there were 2 unfinished quilts and the person who gave it to me asked me to finish the 2 quilts.  One was a baby quilt and only needed a binding.  The other was stacks of 4 inch squares (cut by hand).  The squares were shades of purple and there was no pattern.  Judy told me her mother who is in a nursing home was going to make a King size quilt and started taking a turn for the worse and won’t be able to see it finished.  All I know is there are 12 squares to a row (they were labeled), but only 9 rows across.  What I have found out is there are 9 blocks (the 9 sets of 12).  There was some sewn together, but nothing to show what the pattern was desired.  Judy, the daughter, doesn’t know anything.

I spend 10 hours sewing yesterday and realized that the count of off.   Too many (by 500) of mixed light purples and not enough dark purple.  Instead of 9 rows only 8 rows.  So I am thinking of going on a fabric hunt today and if I can find the purple get enough to make the blocks 12×12 of the 4″ squares.

My question to everyone one is……….does a block HAVE to be square?  I always thought it did.  Or at least that is how I have always made them.  My goal is to get this finished this week.  Everything else is on hold.

The lady in the nursing home is one of the sweetest ladies I’ve ever met and I want her quilt finished.

IMG_20180212_083320373.jpg

Each block will be like this, but if I can find the purple I will have 12 rows.

Have fun today.  What ever you do.

Easy Pinwheel Quillow

Sounds fun right?  It is thanks to Jenny Doan.  I love her Youtube videos, and have had the pleasure of meeting her a few times, learned to make easy and perfect pinwheels.  I am bringing back a project that my grandkids loved growing up( a mere 15 plus years).  It is a blanket with a pocket on the back.  When not used it folds up and tucks into the pocket to make a pillow.  I am making some for our craft fairs coming up in June.  They will be lap quilt size and perfect sizes for sleep overs.

If you haven’t seen Jenny’s video, and struggle to get on point pinwheels here is a quick overview of how to do it.

  1. I used 6″ squares, placing a print and a solid (white) face to face together.
  2. Sew all around the edges.  All 4 sides.
  3. Cut diagonally twice to make 4 triangles.
  4. Open up and press open.
  5. Place together making a pinwheel.  IMG_20180205_153701166.jpg 
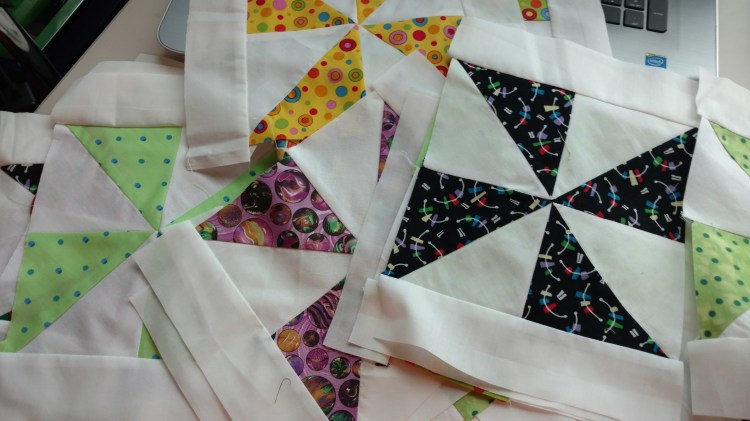
Perfect points.  Can’t miss.

I then put a border around them and this is the finished top.  I will bind it with a bright gold.IMG_20180206_075259581
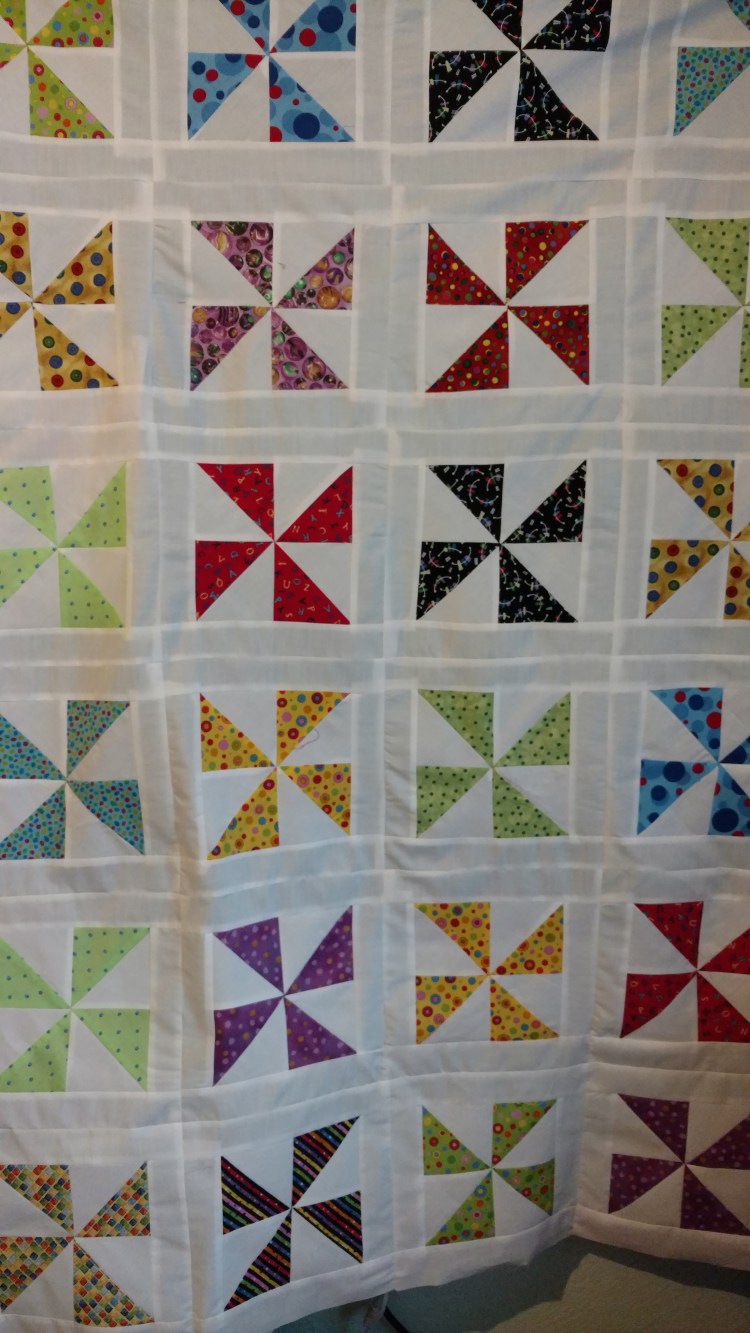
Fun colors make a great pinwheel.

Do you have a favorite short cut pattern?  I would love to see it. Have a wonderful day.

Quilting questions I never thought about.

This last week a question was posted on Friends of Farmhouse Quilts about rulers and their accuracy among different brands. This jarred the memory to a mini workshop I attended last year at our quilt guild. Quilting 101. Now I will start out saying I am a self taught quilter.  I started out at the age of 8 or 9 learning to sew from my mother and grandmother.  I sewed clothes and craft items.

What I learned from this instructor surprised me.  Not that it takes a lot to surprise me, but here is what  I did learn…

  1. No 2 rulers measure the same. They will measure a little different. This doesn’t matter if this is the same brand or not.  Try this little experiment…cut a piece of fabric with your favorite ruler and now take another off the wall and measure the fabric.  Just a little off.  Not much just a hair, but too many little bits can add up to a whole lot.  I know different brands will measure different.
  2. Measuring with the same ruler would can make a difference. Where do you place the fabric to cut it.  By this I mean to cut a 5×5 inch square do you place your fabric under the 5 inch mark or to the left or right of the bold marking line?  This adds up on larger projects.
  3. Sewing machines will differ some what also.  If you have to change machines in mid project them the seams will be a little different.
  4. Needles.  Starting and ending with the same brand and size needle is important to exact size
  5. Thread thickness through out makes a difference.

All this is mind boggling for me. So this is how I combat all these pitfalls.  I use the same rulers through out the whole project.  Make sure I have a new needle and enough thread.  As far as machines there isn’t a lot I can do about this.

Even though I try and follow all these things, I will still have some wonky blocks from time to time.  But who isn’t a little wonky from time to time?

Do you have any more bits of information to be added to this list?

With all this said I have some pinwheel blocks to make.  While it is snowing outside I will be watching it blow and snow, quilt and smell my beans for chili cooking.

Have fun.


Are you going to e watching Football?

I will be looking at fabric trying to decide on what I want to make next.  I have the border to put on the Eagle wall hanging and then it will be finished.  I have quite a bit of fabric I have purchased from New Mexico, and Arizona.  I think I will make a Southwest quilt.  Will go great with my colors in the house.

I will be posting one of Alicia’s crocheted blankets.

Almost Reversible Blanket


This blanket is about 43×43 but gauge doesn’t really matter you can make it as big or little as you’d like.

I used 2 skiens of each pink, purple and white Red Hart WW yarn and an “I” hook, but one color at a time.

Stitches to know:

SC=single crochet

DC=double crochet

Herringbone=YO, insert hook into indicated stitch, YO pull through and pull through 1st loop on hook (you may have to twist your hook), YO pull through last 2 loops on hook.

Color change, change color with the last stitch of the row.

Special note: Ch1 at the beginning does not count as stitch.


Row 1) CA (color A) ch110, or an even number to make the size you would like.


Row 2) This will be the right side of the blanket. Working in the back humps (these are the bumps on the back side of the chain) sc in 2nd hump, *dc in next hump, sc in next hump*, repeat to the end. You should end with 109 stitches ending in sc and change to color B. (109 stitches) Turn


Row 3) CB ch1, herringbone stitch (YO, insert hook into indicated stitch, YO pull through and pull through 1st loop on hook (you may have to twist your hook), YO pull through last 2 loops on hook, in same stitch as ch1. Herringbone in each stitch across. Change to color C. (109 stitches) Turn.


Row 4) CC, ch1, sc in same stitch, *dc in next stitch, sc in next stitch* repeat to end. Change to color B. (109 stitches). Turn


Row 5) Repeat row 3


Row 6) CA, ch1, sc in same stitch, *dc in next stitch, sc in next stitch*, repeat to end. Change color to color B (109 stitches). Turn


Row 7) Repeat row 3


Row 8) Repeat row 4


Repeat rows 6 – 8 until the blanket measures 43×43.


After the last CA row has been worked change to CB, sc to end, DO NOT TURN. Work 3sc in last stitch, turn to work sc down the side, in last stitch work 3 sc, turn to work bottom, sc in each stitch to end, work 3sc in last stitch, turn and work 3sc on last side. Join w/ a slip stitch and fasten off. Weave in any ends.


This is a free pattern, please do not sell this pattern or pass it off as your own. You have permission to sell anything made with this pafamilyttern, however I ask that you mention you got it from Alicia Hill One Creative Family@gmail.com  WordPress.com/onecreative


Ever been told off by a 3 yr old??????

I love the reactions of young children.  They are so fierce is what they say and do.  So real.  With this said our 3 yr of granddaughter was over yesterday and I was sewing the binding on a quilt.  I had my binding secure in place with my quilt clips.  Destiny comes up to me to “help” when she saw the clips.  This is when she raised her voice, hands on hips and demanding , “Why do you have MY things on your blanket?  Those are mine.  You don’t use MY things on your things.”  She then took them off the binding and put them back in the container.  After that every time I picked the quilt up she came to inspect it to see if I had HER things.  I have to admit I did do this some to see what she will do.

This afternoon will be more thread painting.  I will give this advice, either buy LOTS of the color threads you need or keep the dye lot number so you can go back and get more.  I have gone thru 3 spools already and need to go for more.  Still well worth it.  Another tip I found out by accident.  I decided to take a few stitches out on a sample piece and it was so time consuming and almost impossible, so I took out my little electric razor. I use this to cut threads and it works great for lots of threads.  I went over the threads and what it did was made the threads feel like fur.  I may do this for a puppy next.  Not on an eagle tho.

Well I am off to buy more thread and my own quilt clips.  Have a great day.

Play today.

Today I was thinking of a way to get people’s attention when going to craft fairs.  I know I look to see the unusual.  What about you?  I wanted to come up with something unique to get people’s attention to come see what we have in out booth.  Want to see what I thought about?  Well even if you don’t here it is…..

IMG_20180129_125749308
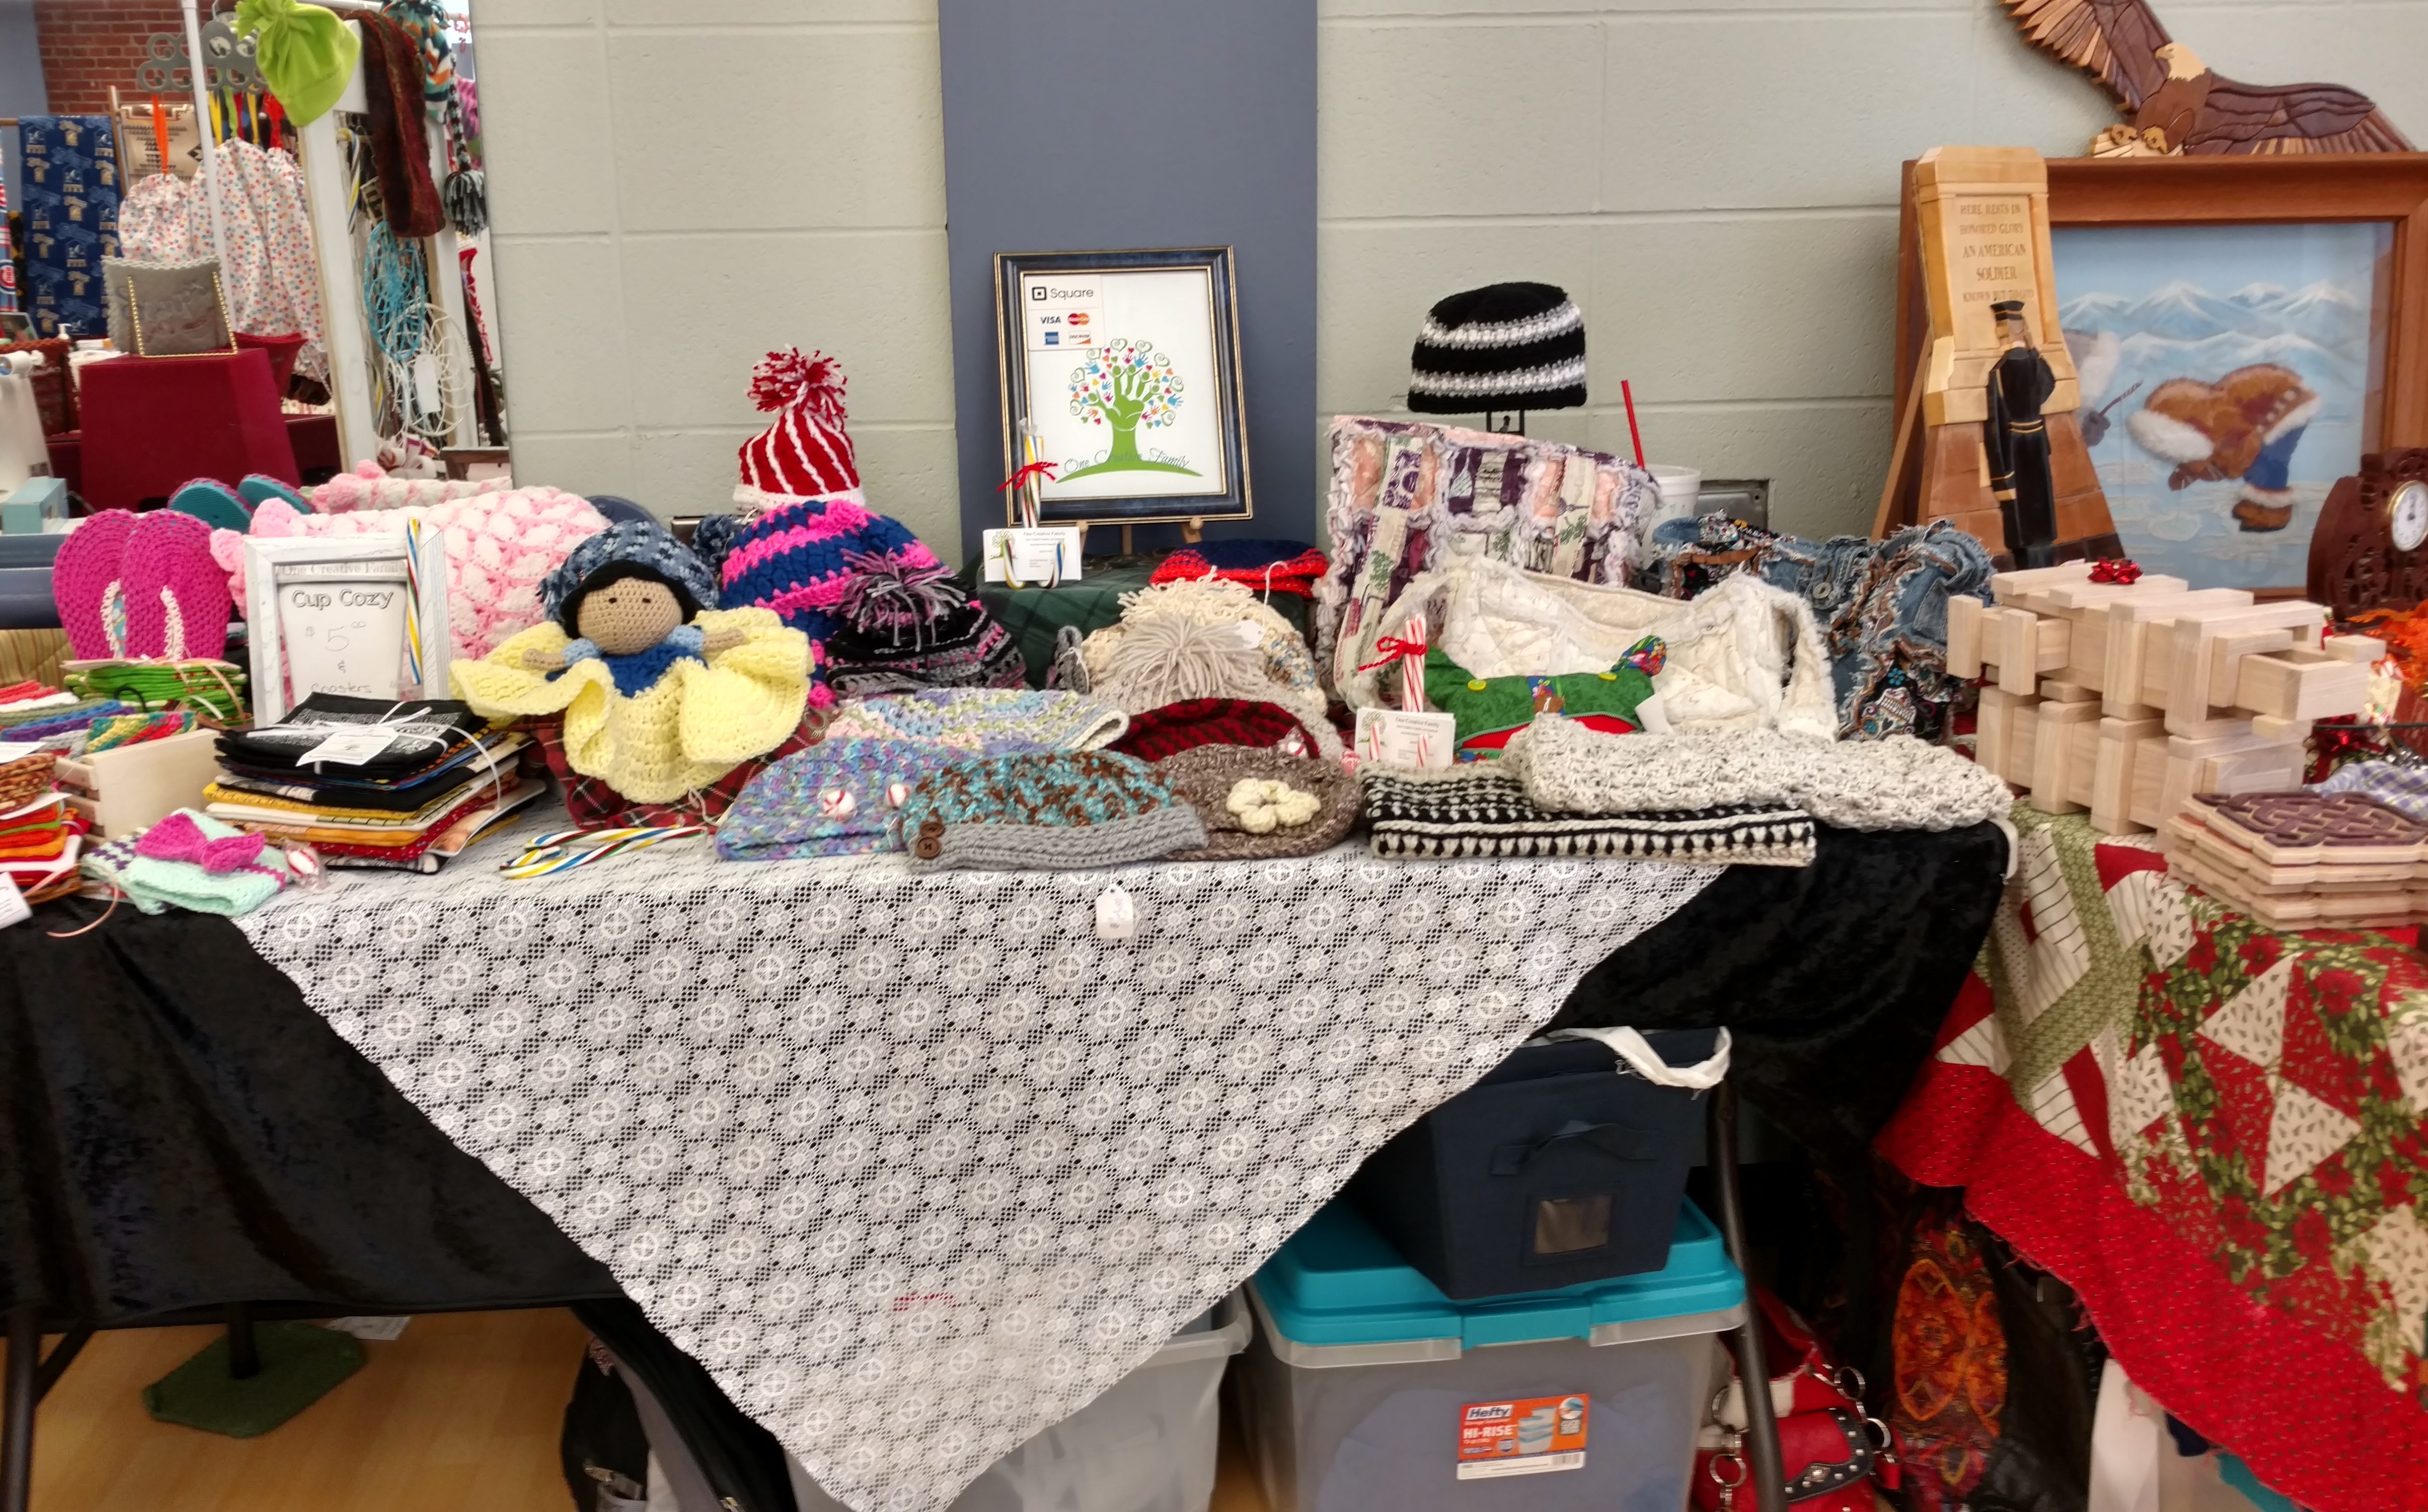
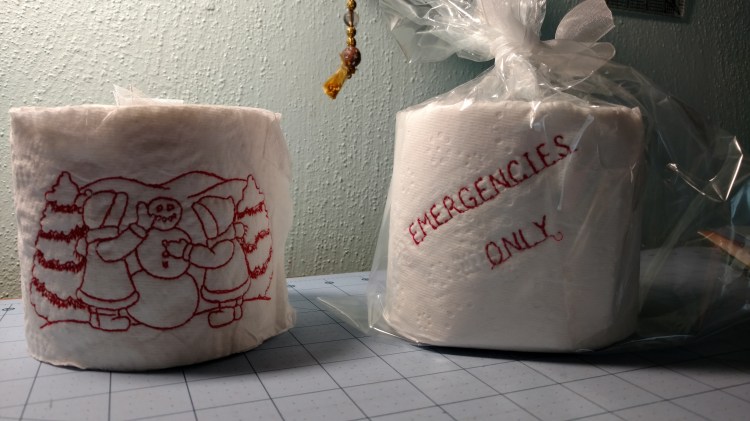
Can you say you have seen a booth full of toilet paper???????  We will have for all occasions.

Now on to serious things.  I started my thread paining and found out zig zag stitches are good to use.  Now I need to work on tension on the back.  It is a little loose.  But after 2 days this is getting to be lots of fun.  IMG_20180129_104432066.jpgI never thought about it, but it is important to start with the darker colors and then stack them to the lighter shades.  After doing this then I will go back with the lightest shades to detail it.  If I am doing something wrong, please let me know.  I have watched some Youtube videos and am being self taught.  Always open to suggestions.

We will see what tomorrow brings, well maybe not, it is a day with a 3 yr old Granddaughter who thinks she is the adult.  LOL love my Grand kids.

Keep having fun.

Thread Painting?

I have been very hit and miss with my blogging and keeping up with other friends on line.  For this I am sorry.  I hope the last 3 months haven’t hit as hard for all.  Now that things are hopefully back to normal I will spend more time watching the squirrels playing, sewing and visiting on the computer.  I have decided to try and do some thread painting so I will see how it turns out.  I have this panel to make into a wall hanging.IMG_20180122_051929740I plan on doing the thread painting on the eagle and then free motion quilting over the rest.  Any suggestions?  Pointers?   This will be fun.

Last Friday of January

Since this is the last Friday of January I looked back to see if I have reached my goals.

Quilting goals….yes all previous projects completed and New projects either started or ideas written down to be able to follow thru.

Personal goals…not totally. More exercise check, weight goals not there, but still working. Healthier me… check.  Off blood pressure meds.

All in all January has been a good month.  Now for the new projects.  I am making a new Dragonfly Dance  quilt and an Old Glory wall hanging.  Here is a photo of the Old Glory wall hangingIMG_20180122_051929740
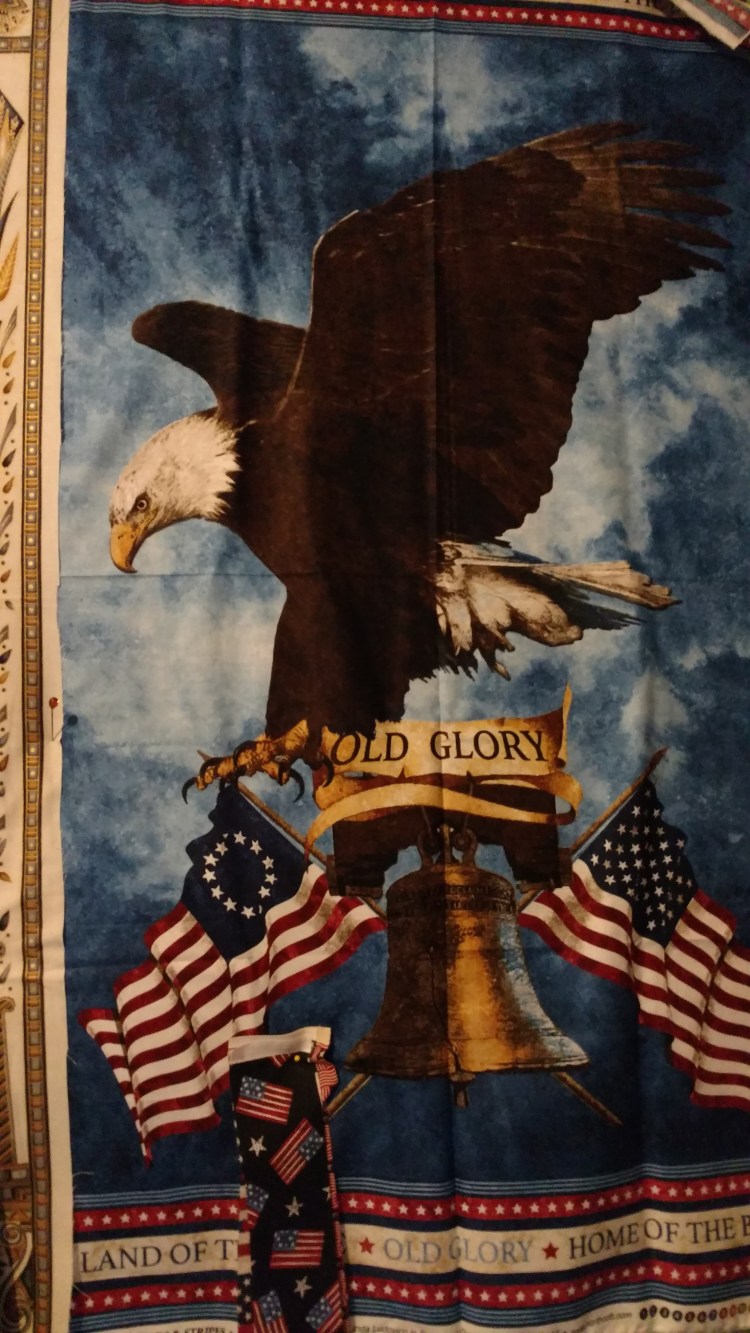
I am excited for these new projects.

Dragonfly Dance (1st one finished)

IMG_20171231_094828812Isn’t it such a wonderful feeling to finish a project and then start a new one?  Happy Sewing today. Do something fun today and smile a lot.


Bunka vs Embroidery pt

Well after doing both Bunka and Needlepunch this week, (I have never done either) the only difference is the thread.  The Bunka is very scrunchy apposed to regular embroidery thread and pearl cotton.  I love working with this and once I get the rhythm and tension it went fast.  These are pictures of my first few attempts.  Not bad.IMG_20180121_123022420

On a different note Thursday night Hubby surprised me with a trip to Hancock of Paducah.  6  1/2 hours there, shopping for 3 hours and 6  1/2 hours home.  Was fantastic.

Now to start using some of this wonderful fabrics.