
While I was making another wheelchair caddy I wrote up how I did it and here it is if you have the need to make one or want to.
Wheelchair Caddy

Wheelchair Caddy
Finished size 11×7.5 inches
Items needed:
Outside Fabric 1/3 yd
Lining fabric 1/3 yd
Contrast fabric 12×5 inches
Velcro
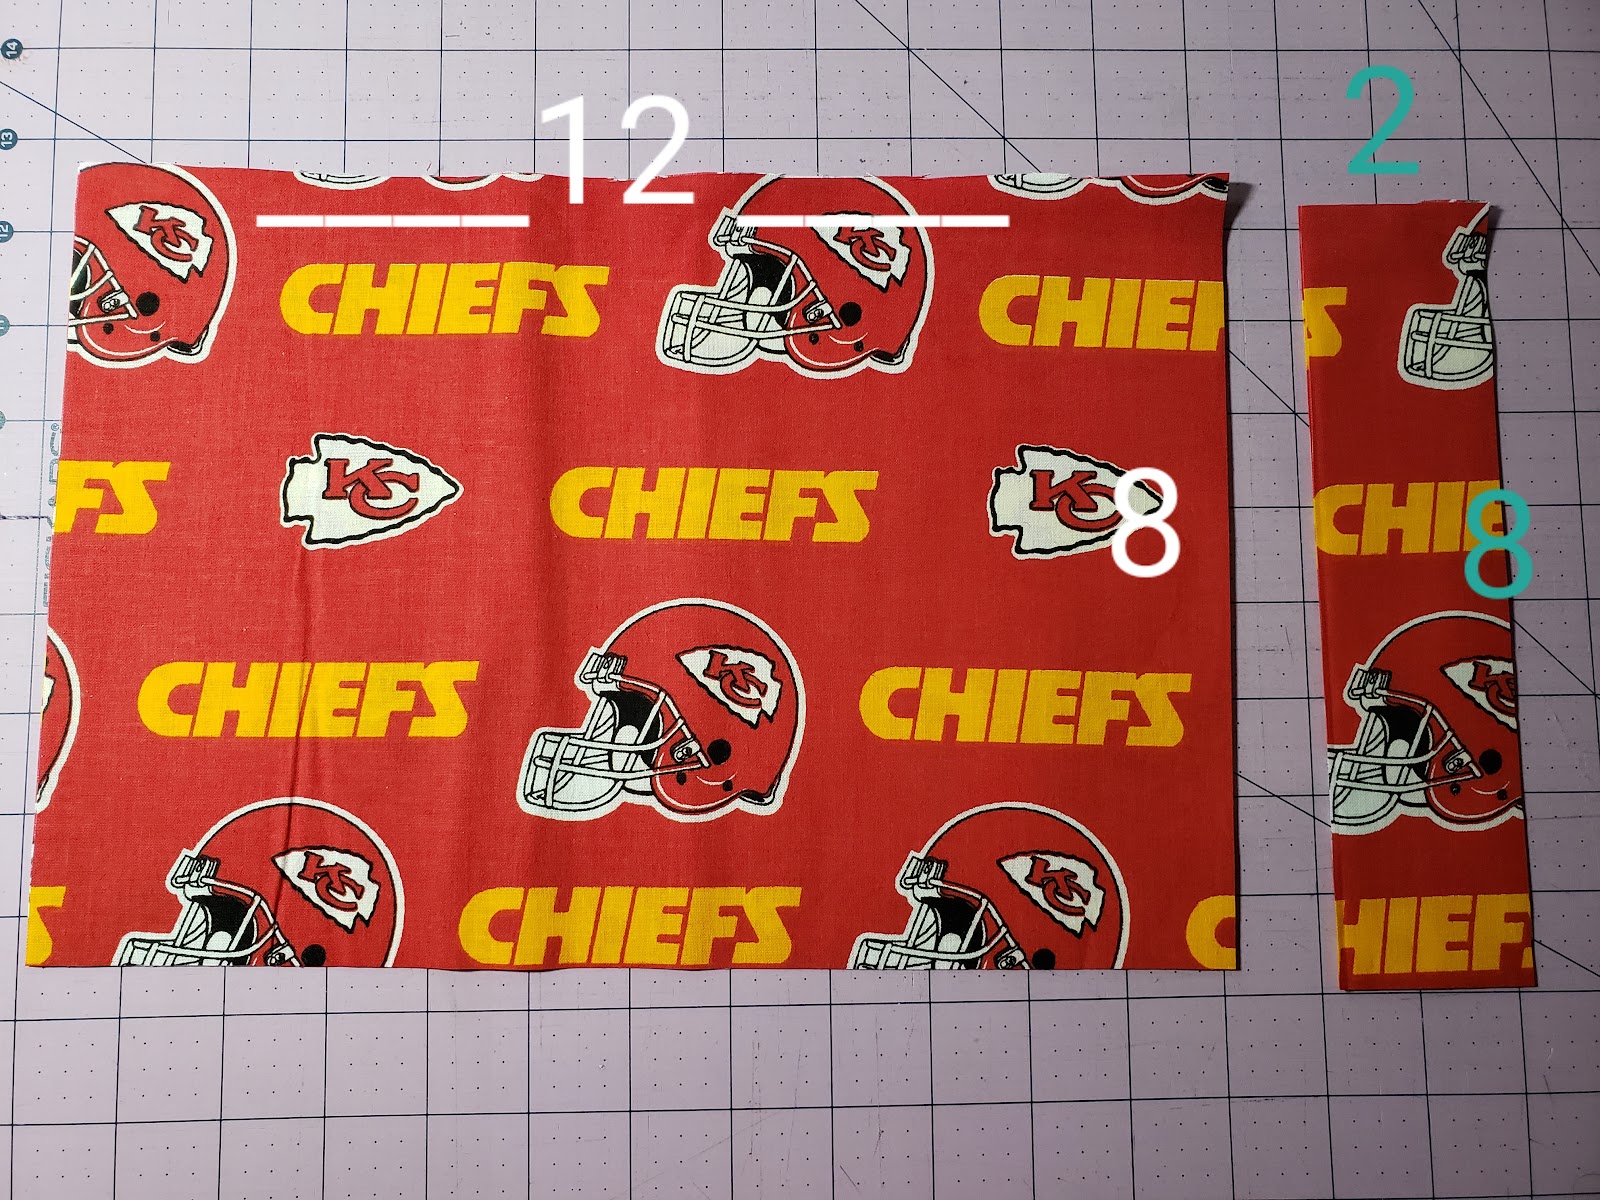
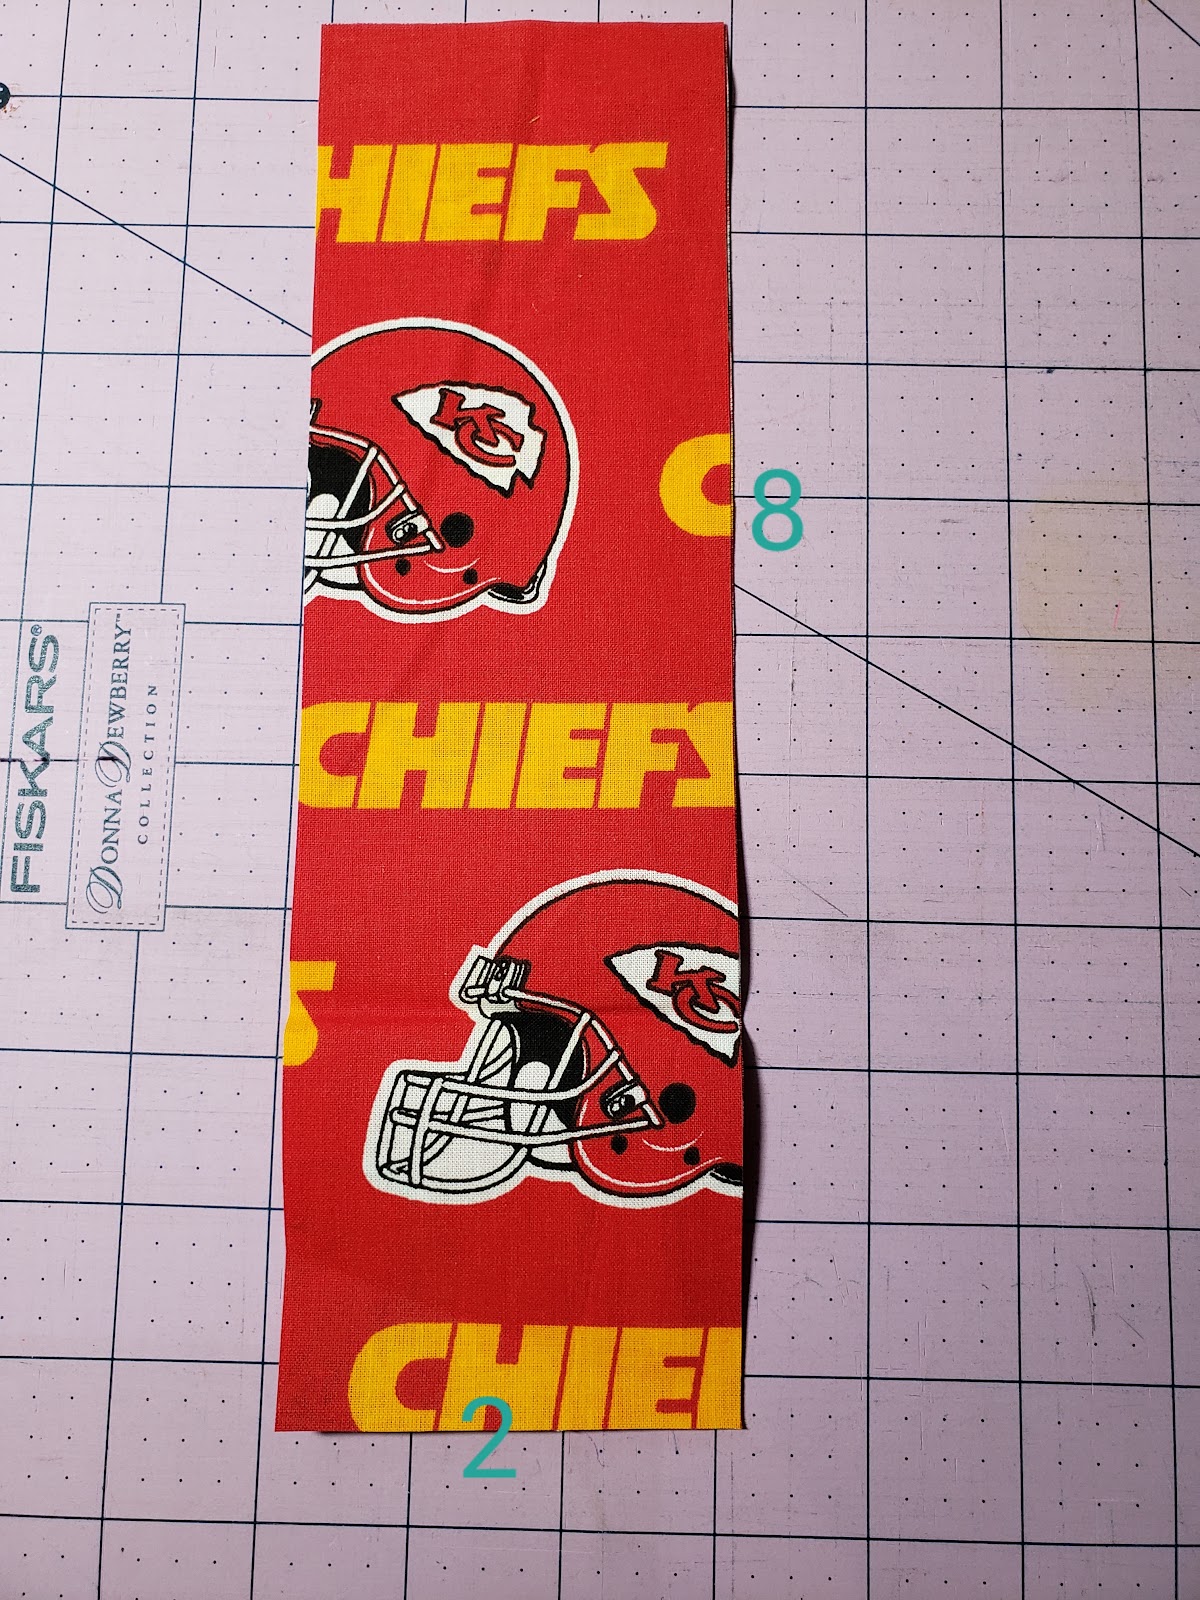
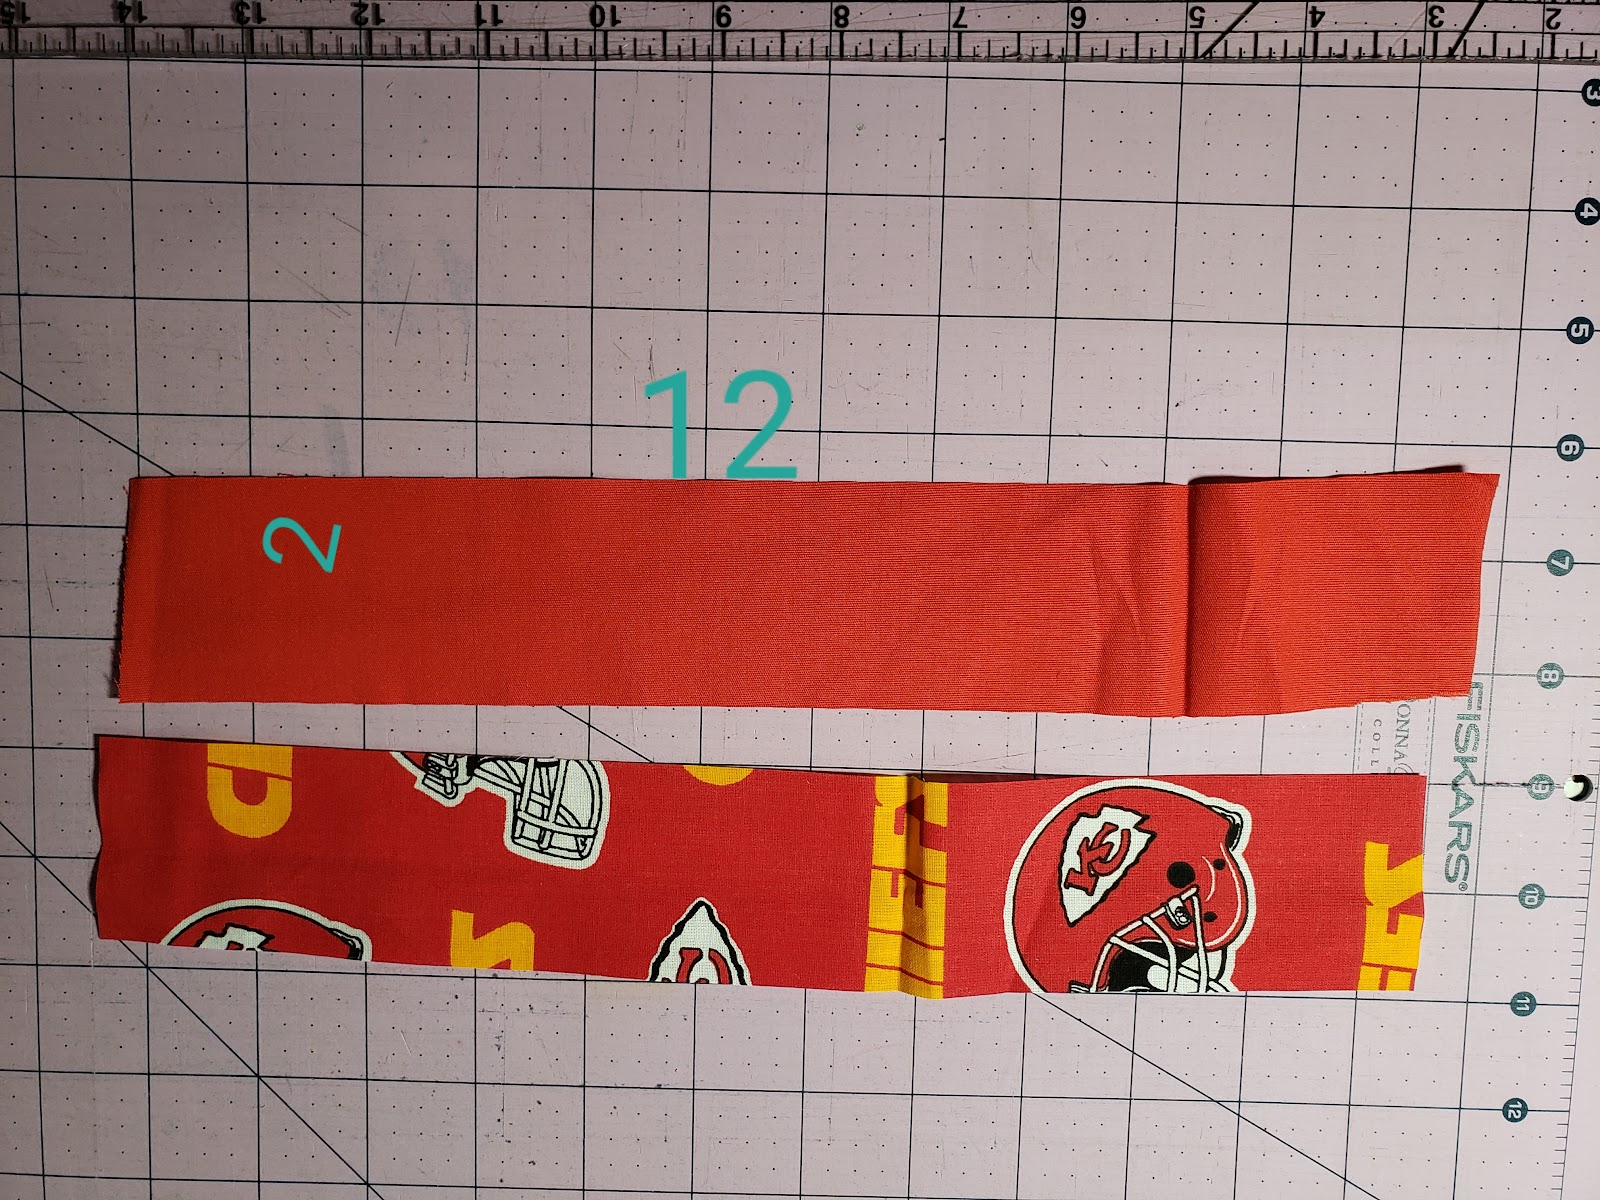
Outside fabric cut 2 12×8, for bag. Cut 2 2×8 for side sections. and 2 3×10 for straps
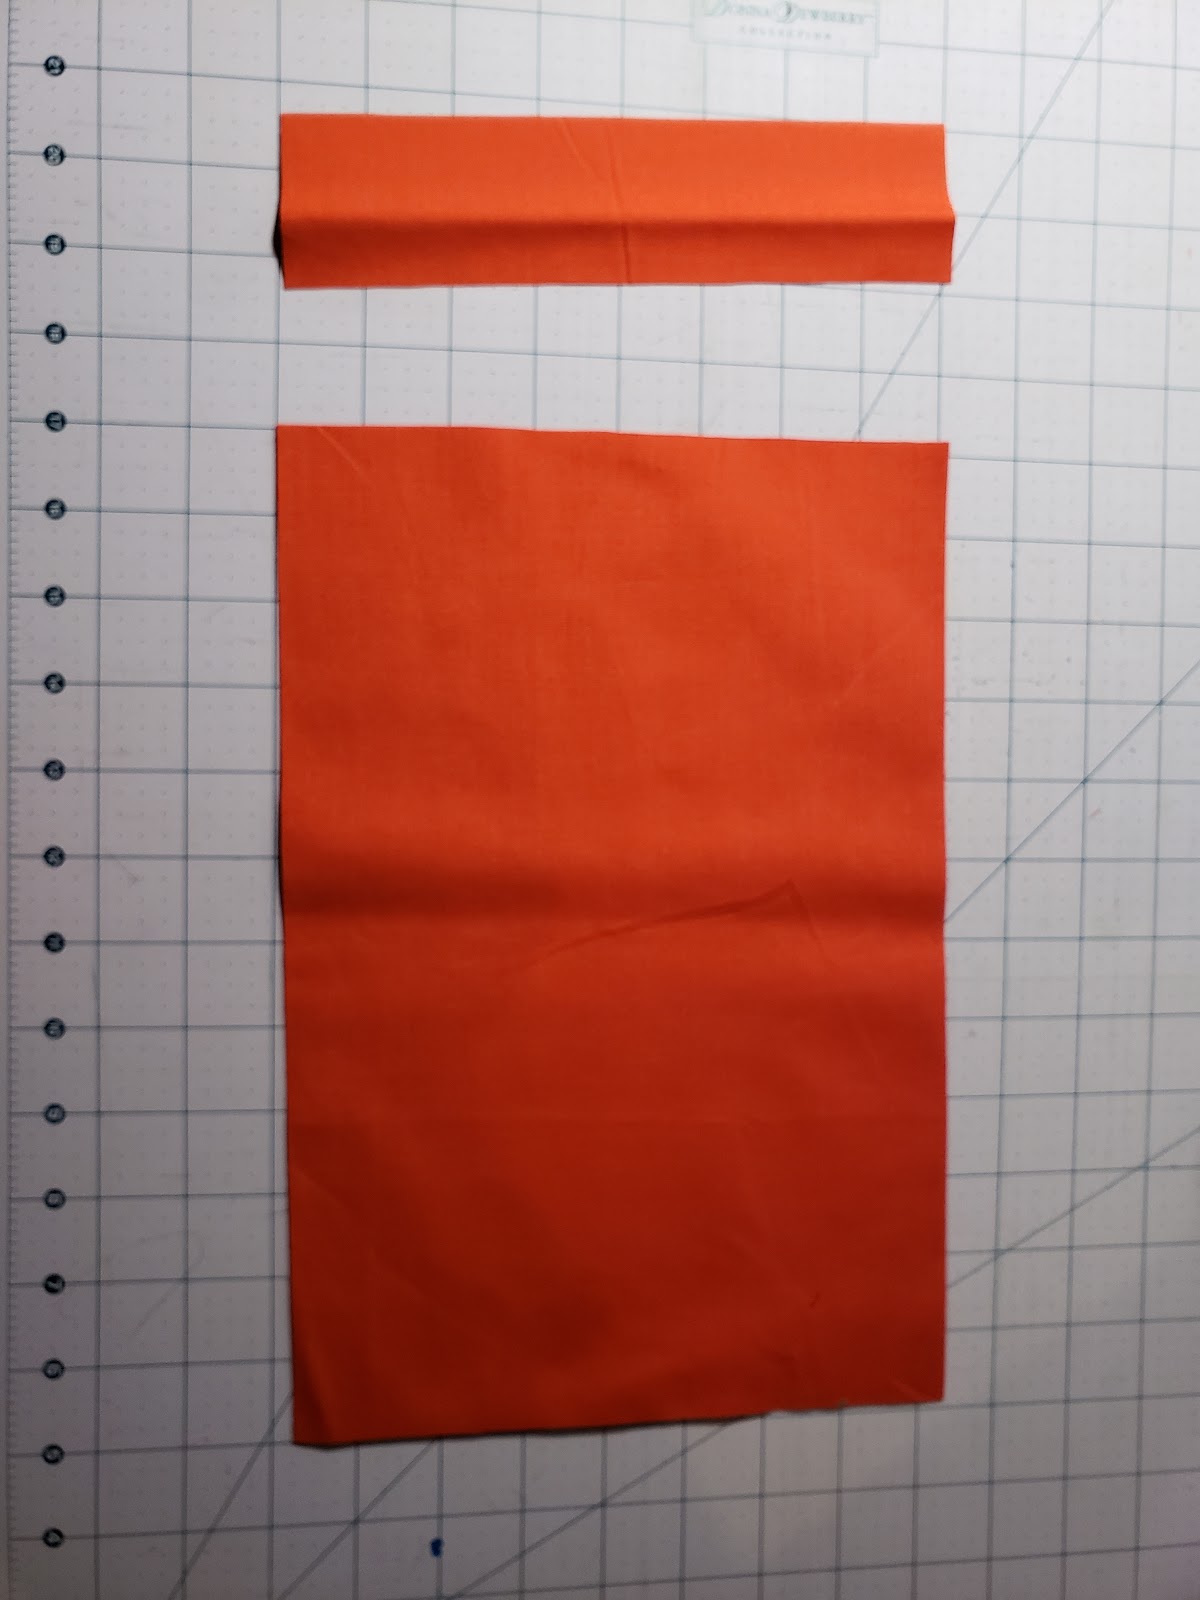
Lining fabric cut 2 12×8, for bag. Cut 2 2×8 for side sections.
Straps
Cut for the outside pocket (optional). Fold the top over and hem. Place the pocket on the outside of the front panel.
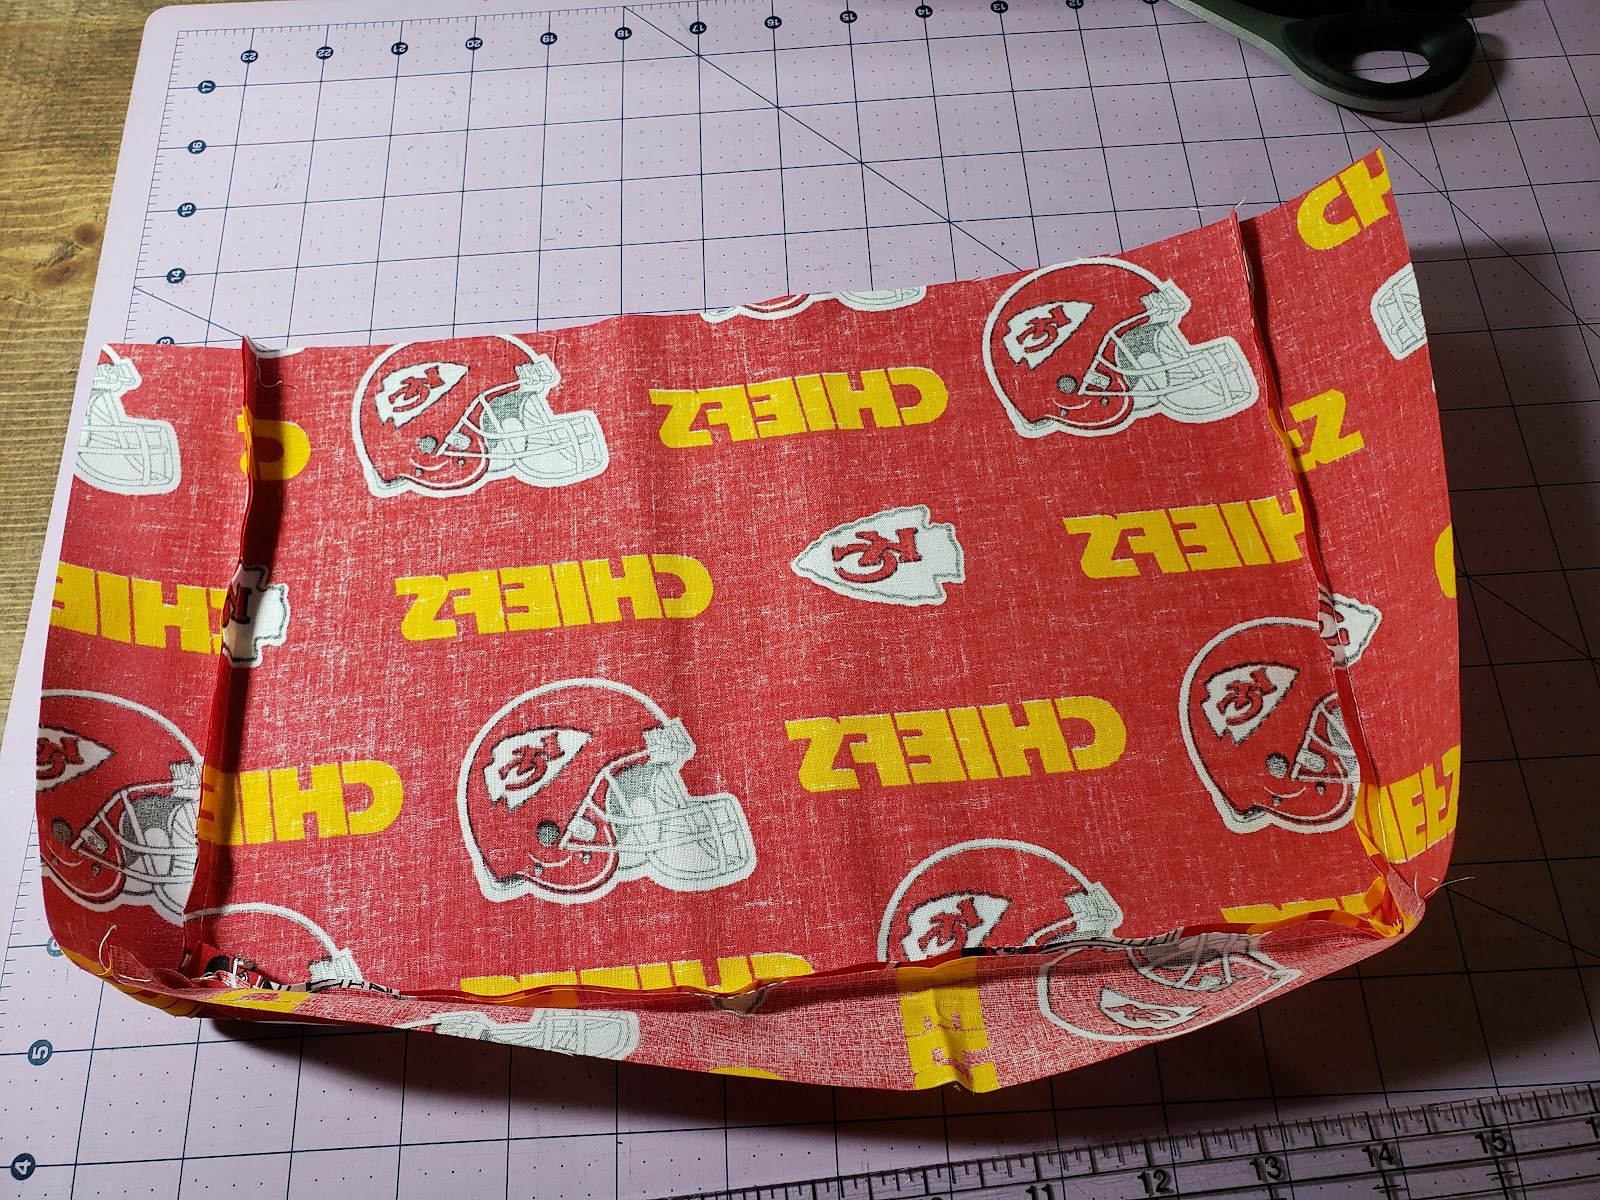
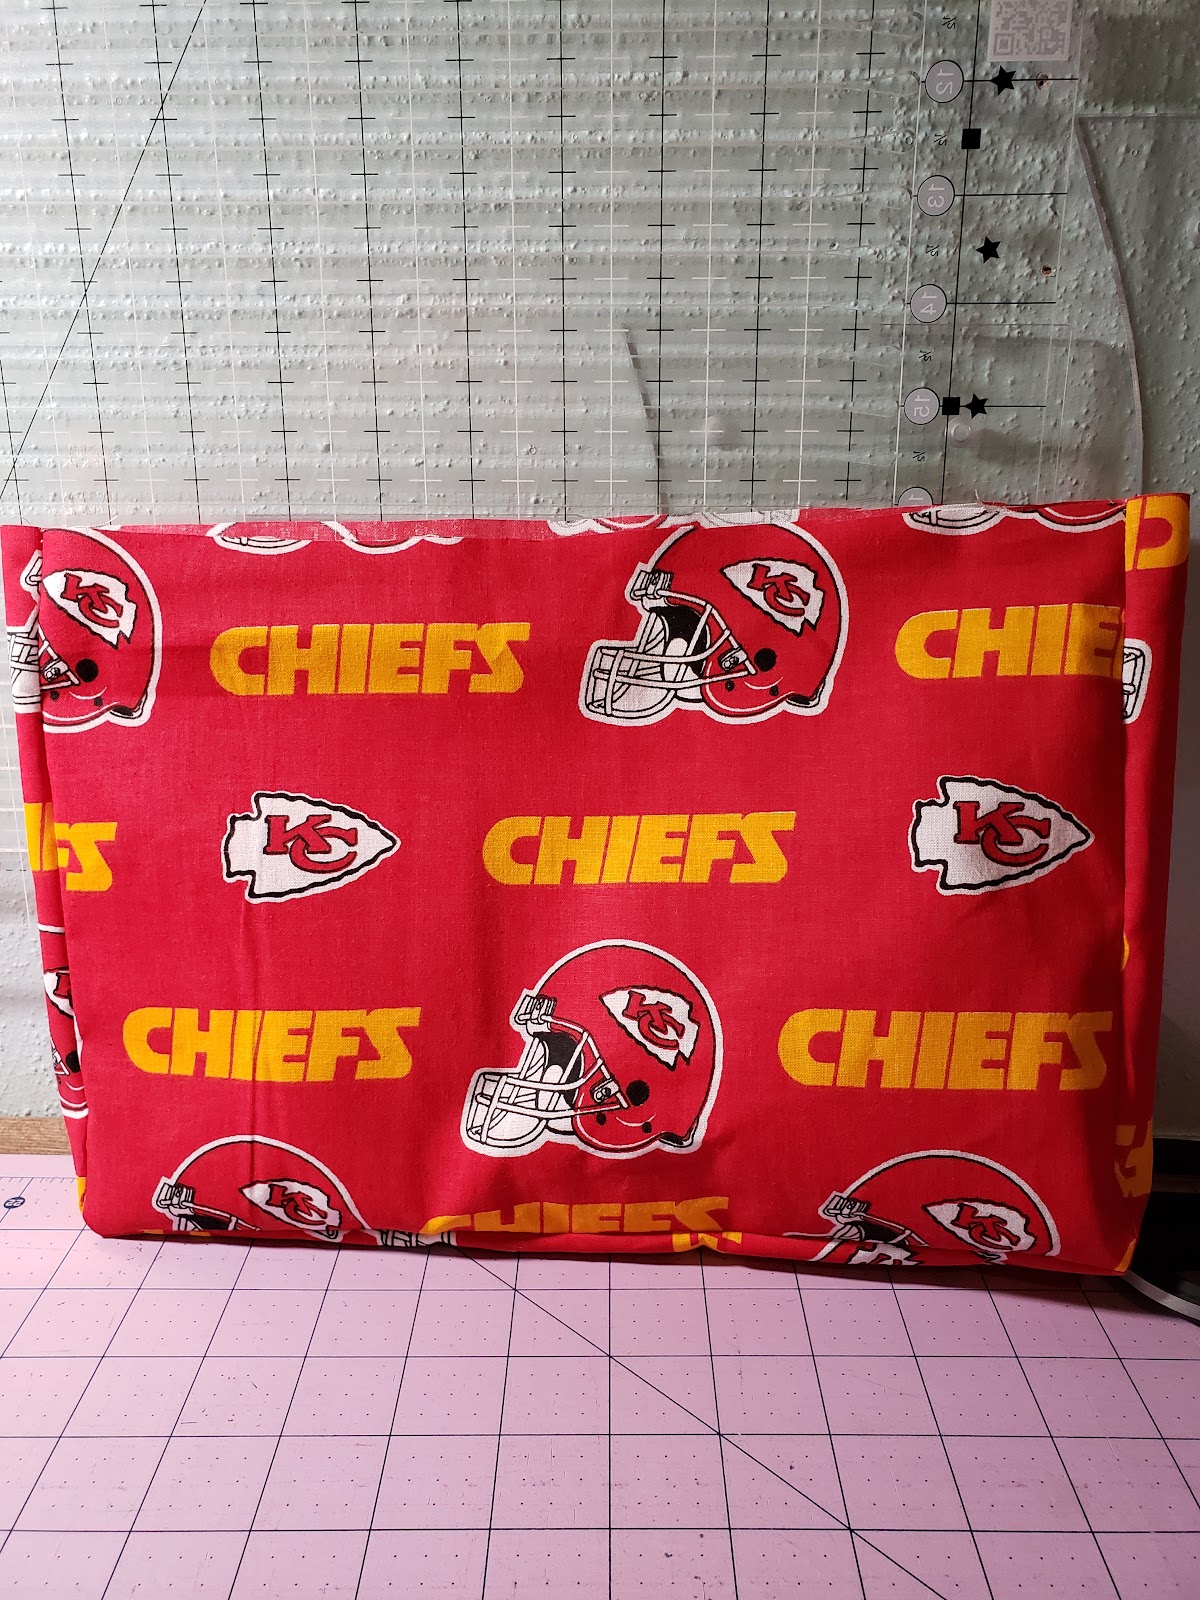
Sew the side pieces to the bottom piece and then stitch to the front panel. Now sew the back on and you will have the outside bag completed. Follow the same steps for the lining.
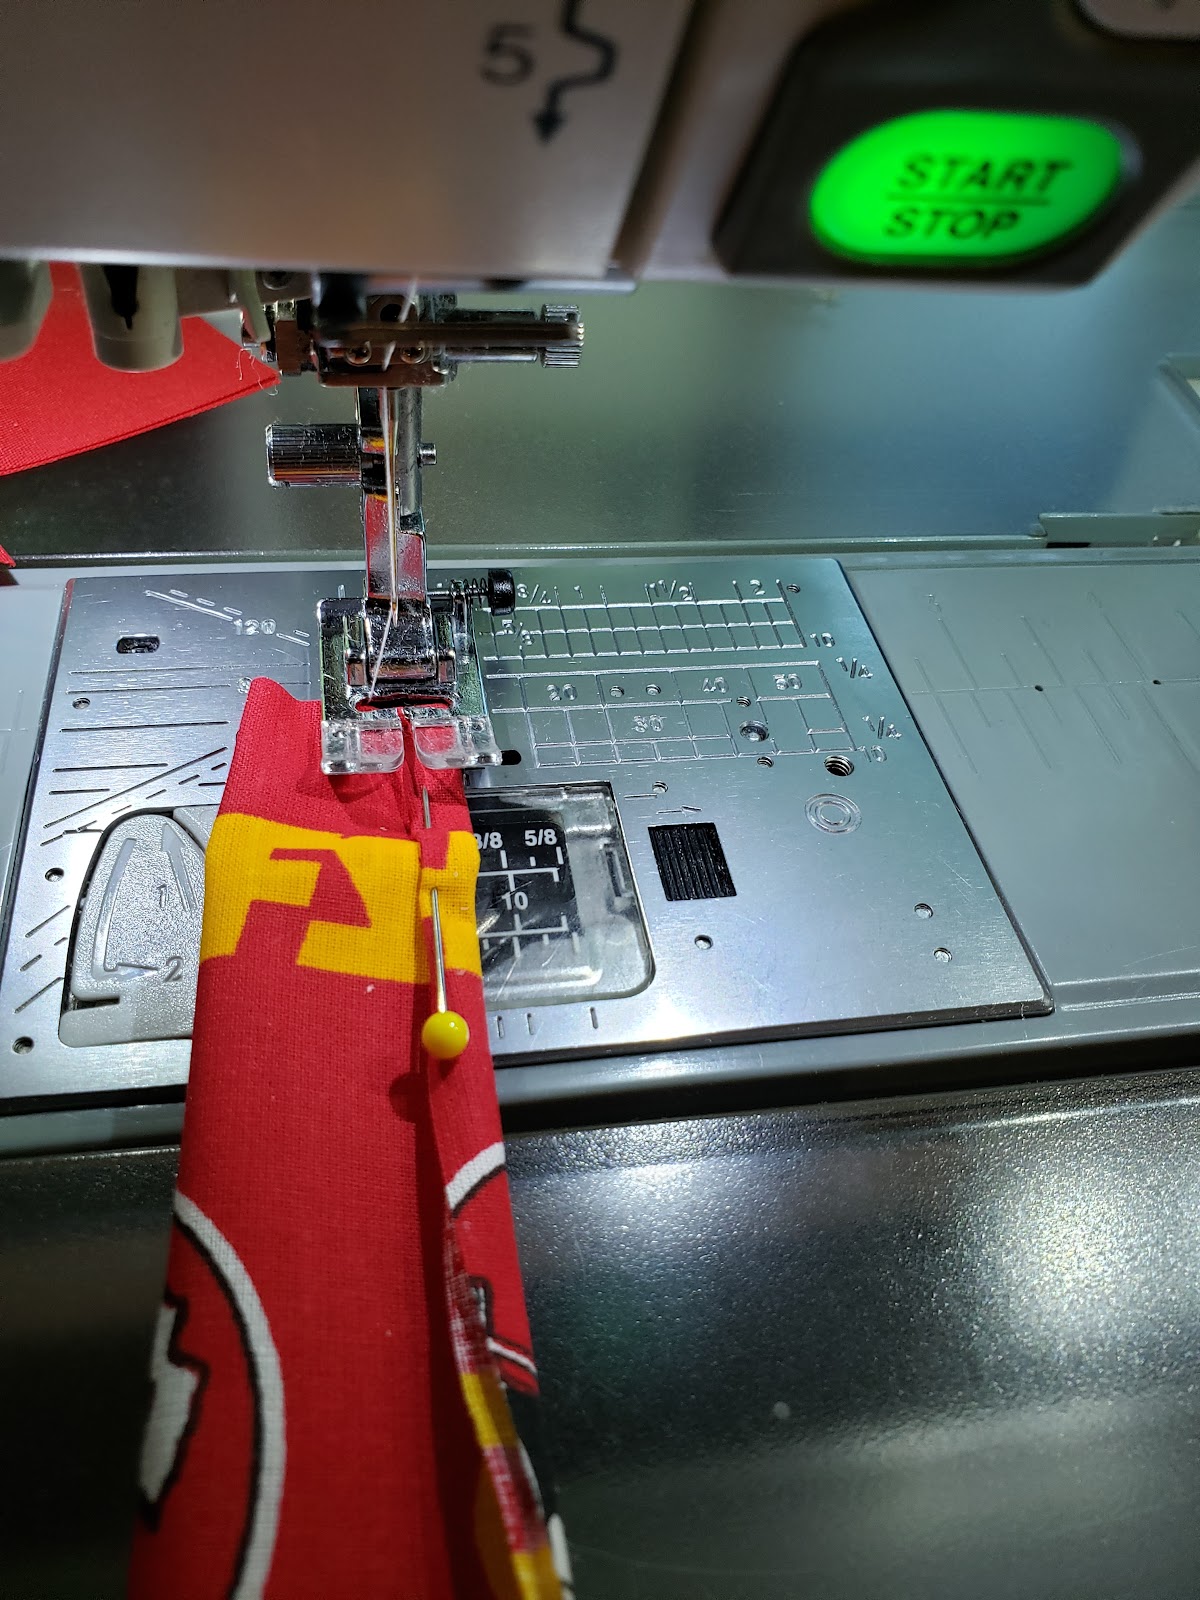
For the straps fold the pieces in half and then fold over a scant ¼ inch to hide the raw edge and stitch down.
After sewing this down pin the straps to the front of the bag about 2 inches in from each of the side seams.
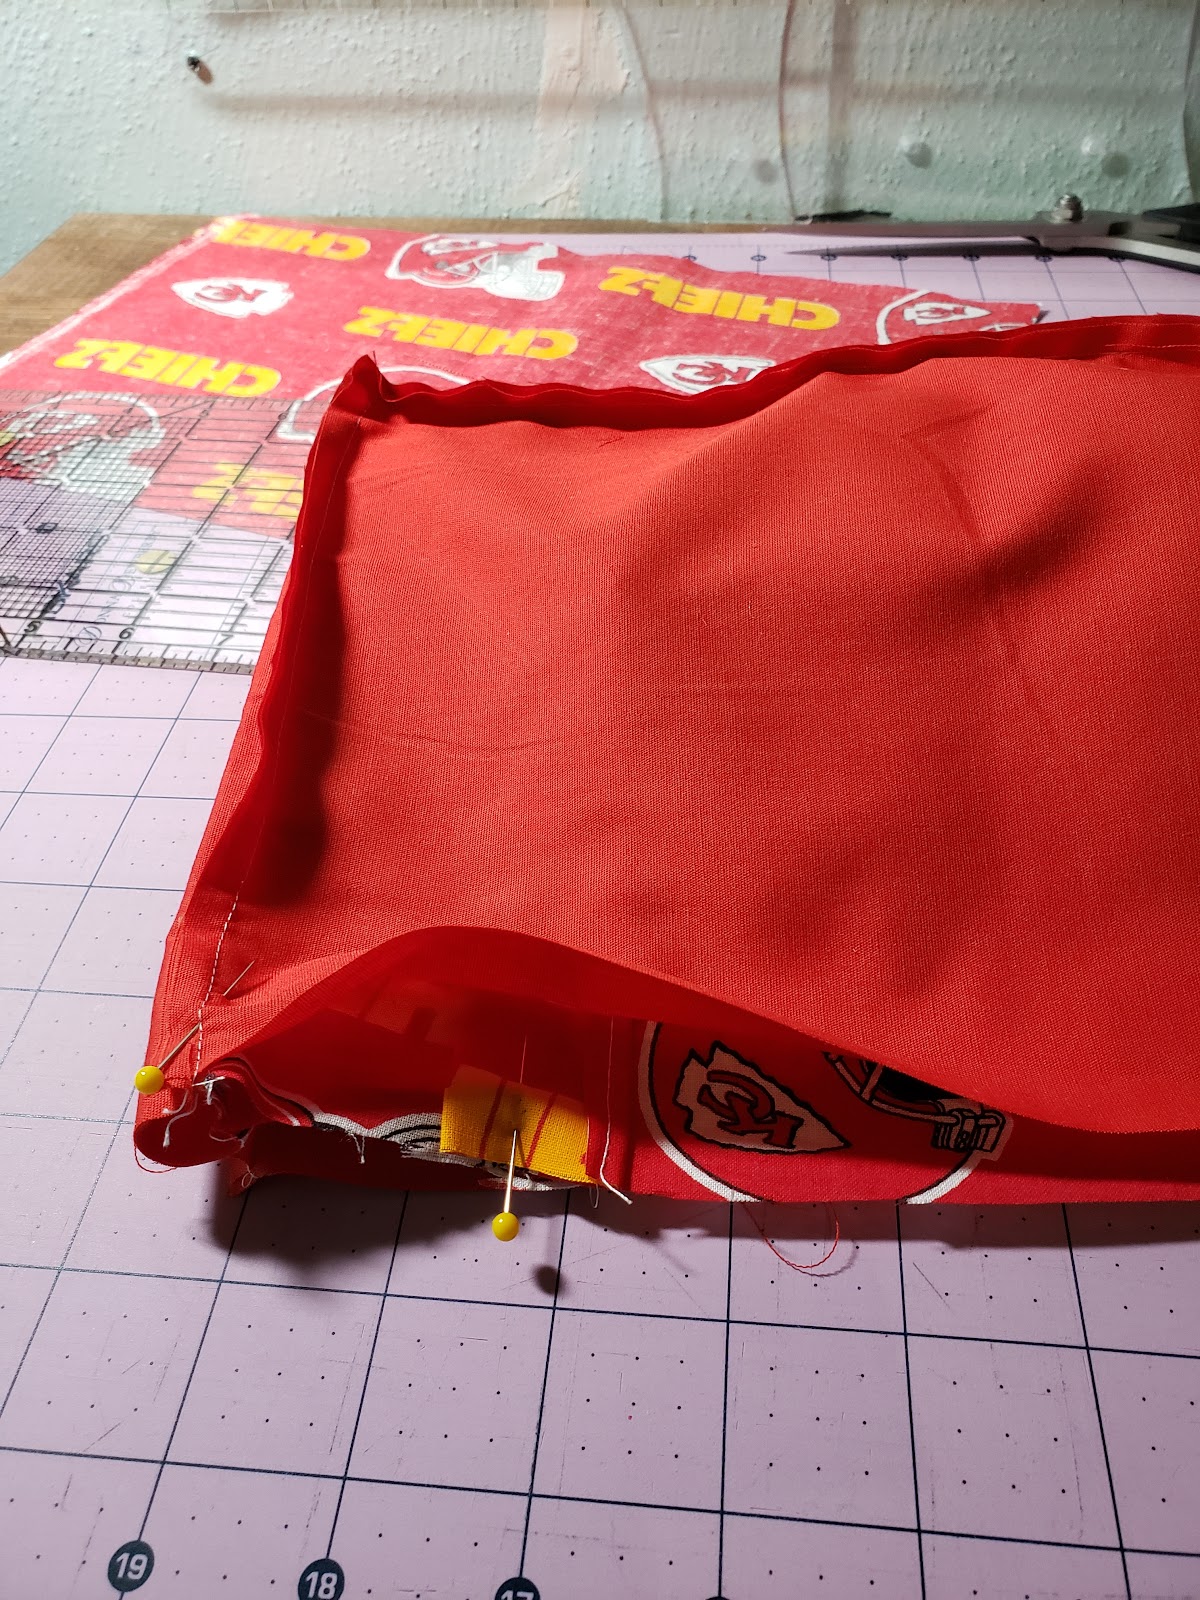

Assemble the caddy bag puttling the lining and the outside together right sides facing each other and pin along the top of the caddy bag. Make sure the straps are caught in the front seam and not in the back seam and stitch leaving a 2 inch opening in the bag.
Now pull the caddy bag right sides out and top stitch around the top sealing the top.
Next sew the velcro to the ends of the straps and then to where the back of the bag. This is where you want it to fit the wheelchair. Enjoy.
